SOMETHING ABOUT PRECIOUS LIGHTING FOR PORTRAIT SHOOTING
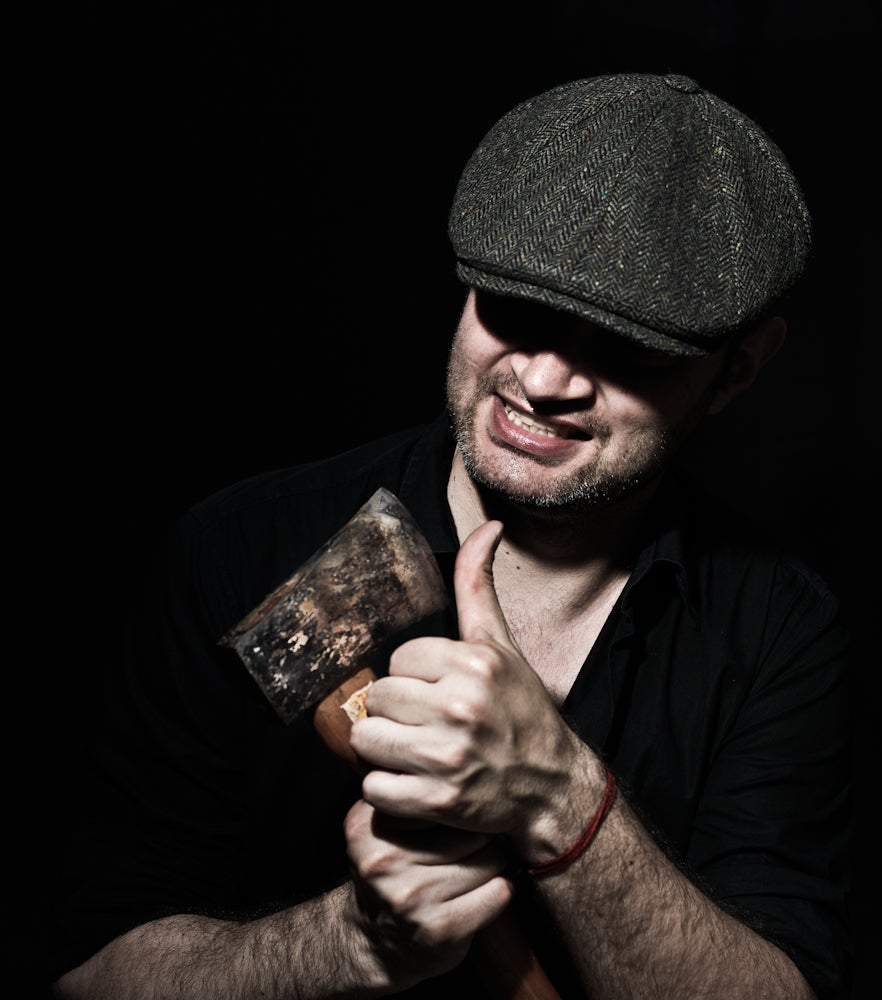
 Behind every good lighting is a shadow that gives shape and size to the subject. The complex interaction between what you illuminate and what you keep in the shadows – this is what brings visual interest and brings creative sharpness to the images. In studio lighting, this is the raw material with which to work and with which to create the right one.
The main or key light source simply provides the main lighting for the subject. You can create some amazing portraits using a single light source, but what if you want to add something else? Here comes the time when accent lighting comes into play. What is it like?
Accent lighting is usually created by a controlled light source that highlights specific areas of the subject. He can lighten the model’s hair to visually separate it from the background, or it can be a side light that illuminates sweat drops on the athlete after an intense workout. This light is necessary to give a certain form to the elements of the photo, allowing the eyes to feel the various dimensions of the image.
Accent light is used to create a dramatic effect, it is best used to give style and a special atmosphere. In a dramatic style, the backlight draws attention to the main subject of the scene or some other element of the picture that the photographer wants to draw the attention of the audience.
There are two important things to remember about accent lighting:
the source should be controlled and cover only those areas that are necessary;
This lighting should be brighter than the main light in order to create the right backlight.
Simple ways to control accent lighting – using modifiers such as curtains, a tube with a grill or small strip boxes. That is, in fact, this is all that will narrow and direct the beam of light coming from the source.
American photographer Alex Smith, for example, adds lateral accent lighting to his portraits, directing light from the candy bar into narrow V-shaped planes (two large pieces of polystyrene foam joined together to form a V-shaped figure) aimed at the subject from both sides. to highlight the cheekbones and neck. Thus, the photographer literally sculpts these shapes with the help of light and shadow.
Something about accent lighting for portraiture
Lighting for hair
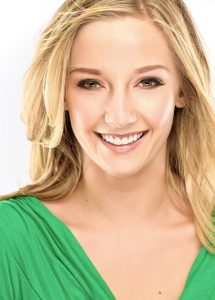
In illuminating the hair of the model, an important detail is that the light should be directed exclusively to the hair of the object. Thus, it should fall above and behind the object.
One of the difficulties in installing accent lighting on the hair of a model is that most often you are dealing with low ceilings, which make it difficult to use large deep octoboxes above the head of the subject, so you only need to use small ones. However, a problem arises when downsizing any source, especially when light falls slightly behind an object. The light often becomes too bright and generally loses detail, creating a “cropped” selection in the histogram.
light scheme for glare
If space allows you, a small or medium softbox in most situations does a good job of lighting the hair of an object, regardless of its color. Just remember that the darker the hair of the model, the more noticeable the illuminated areas, and the more noticeable the shadows become.
Something about accent lighting for portraiture
Light in the eyes
Sometimes you may have a light pattern that makes it difficult to focus on the two eyes of the model at once. For example, when one side of the face turns bright, and the other in the shade. If you need a deep shadow, you can refuse to use the fill flash, there will be no glare in the shaded eye.
Or your model may have a large nose that blocks the light, or extremely deep-set eyes that do not allow light to pass through. Glare in the eyes is vital! Without them, the eyes in the pictures look dead and lifeless, and viewers and subjects simply do not like portraits.
