HOW TO PHOTO THE NIGHT CITY. RULES, ADVICE, TALKS AND RECOMMENDATIONS
 Photographer Matt Perry shows how to transform eye-catching cityscapes into breathtaking images while working harmoniously with the surroundings and city lights.
Photo by Matt Parry
Combine natural light with artificial sources. Sony A7 III, 24-70 mm, 49 s at f / 14, ISO 100
Natural light
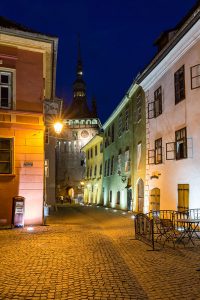
City landscapes look great during the golden hour of sunrise and sunset due to diffused, warm light. The same applies to the “blue hour”: the period before sunrise or immediately after sunset, when the sun goes low enough below the horizon, and the sky takes on a blue hue, which becomes deeper, darker and richer, the further the sun recedes until the blue becomes in black.
Photo by Matt Parry
Examine and plan your shooting during the blue hour to get the most out of your lighting conditions. Canon EOS 5D Mark III, 16-35 mm, 13 s @ f / 16, ISO 100
Artificial light sources
During the blue hour, any artificial lighting will be noticeable. From the light of car headlights to lighting from office windows and street lamps, the city begins to take a different look, day turns into night. Illumination of architectural structures makes them look much more exciting and photogenic than in daylight. Similarly, in any cities located around bodies of water, lights will spread to the water in foggy reflections.
Ultimately, those photographers who understand long exposure techniques and planning can use both natural and artificial light in tandem.
Planning
Determine the best angles of the scene for composing the composition, and also understand the accessibility and any restrictions that you may encounter when shooting.
If you are photographing city lights, it is important to quickly determine the best exposure, since the dynamics between artificial and natural lighting are constantly changing. Then you will spend less time on post-processing. Some use bracketing, while others prefer not to merge pictures with different exposures, but to improve individual ones in post-processing.
Exposure triangle
Put the camera in manual mode and select the lowest standard ISO value (usually ISO 100); This will give you the cleanest images. Next, adjust the aperture. Depending on the scenario and what effect you are trying to achieve, if you are shooting a city landscape and want to keep the focus of the scene from front to back, try setting a narrow aperture between f / 11 and f / 16.
With these settings, your ISO and aperture do not let much light into the camera. The shutter speed will completely depend on the amount of light in the scene, so this is initially a variable that you need to work with to get the desired shot.
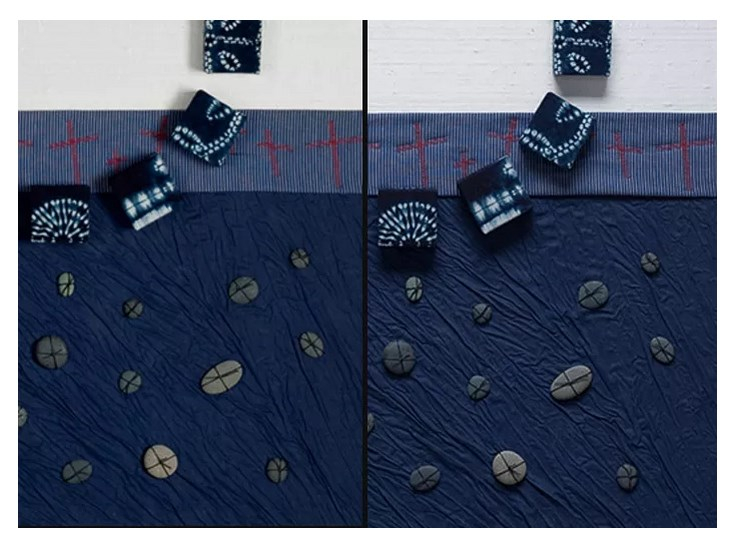
Photo by Matt ParryPhoto by Matt ParryPhoto by Matt Parry
In low light conditions, a slower shutter speed is usually required to compensate for the low ISO and low aperture. This means that it is very important to use a tripod to keep the camera perfectly still. Any slight shift will affect the image and ruin it – this is obvious. Based on a standard cityscape shot, such as a picture taken in Seville, Spain (see pictures above), when changing lighting from sunset to blue hour, you will need to constantly adjust the shutter speed to compensate for the diminished natural light and the resulting strong artificial light.
In this example, each image was taken at intervals of approximately 10 minutes with the same ISO and aperture values, with the shutter speed being the main variable. Lens filters were needed to contain the light in order to get a similar effect in water, however changing lighting conditions are easy to notice. Pay attention to how natural light and color in the sky change with the sunset, while artificial light becomes stronger, which creates more contrast in the darkening sky.
As you dive into the twilight of the sea, you may need a shutter speed of more than 30 seconds to get enough detail in the shade. Just switch to Bulb mode or increase your ISO a little or increase your aperture to reduce exposure.
Shooting Through Glass
Have you ever found yourself in a hotel room with stunning views of the city, in which the window did not open more than a couple of inches?