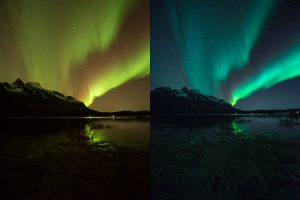
creates the sharpest
HOW TO CREATE A HISTORICAL PICTURE “THEN NOW” AND ANIMATED GIF
 Then-and-now images are much more than just a funny picture. They allow you to visually show how a place has changed over time, which is why such photos are an interesting way to feel the connection with history. Photographer Marie Gardiner in the article describes how to create a photo in a similar style and turn it into an animated GIF. Let’s find out the details.
Choose a location and find a photo
You need to analyze what place, structure and landscape will be useful for your project. That is, if the place is currently not much different from the type in which it was in the photo before, then this is, of course, an interesting fact, but not too suitable for animated photography, which focuses on a direct comparison of the appearance of objects. Continue reading
FIVE TYPICAL CAMERA SETTING ERRORS
 Learning how to use a camera properly is the most important aspect of improving a photographer’s skills. Composition, lighting and post-processing on a computer have a big impact on the quality of the photo, but still they are second on the list of priority skills. The main thing is the camera.
Five common camera setup errors
A professional photographer, Ugo Cei, spoke about one elegant trick he uses to teach his clients how to study the camera better: take a brown paper bag, put the camera in it, and blindly, without looking at it, adjust the ISO, shutter speed and aperture to the desired values. If you can do this, then you already know your tool enough and can move on (it goes without saying that you also need to clearly understand how these basic settings work). Continue reading
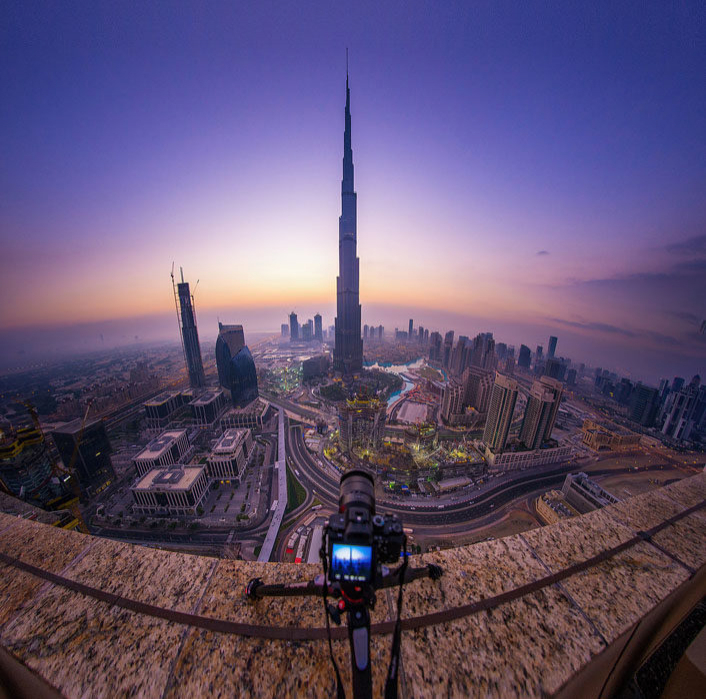
HOW TO PHOTO THE NIGHT CITY. RULES, ADVICE, TALKS AND RECOMMENDATIONS
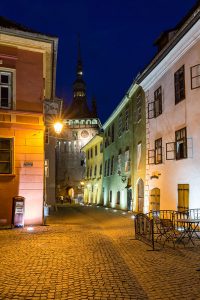 Photographer Matt Perry shows how to transform eye-catching cityscapes into breathtaking images while working harmoniously with the surroundings and city lights.
Photo by Matt Parry
Combine natural light with artificial sources. Sony A7 III, 24-70 mm, 49 s at f / 14, ISO 100
Natural light
City landscapes look great during the golden hour of sunrise and sunset due to diffused, warm light. The same applies to the “blue hour”: the period before sunrise or immediately after sunset, when the sun goes low enough below the horizon, and the sky takes on a blue hue, which becomes deeper, darker and richer, the further the sun recedes until the blue becomes in black.
Photo by Matt Parry Continue reading